La soffitta del tempo perduto...

....è là , nella mente e nel sogno, dove è possibile recuperare le speranze e le aspettative, dove volere è potere e tutto diviene possibile, dove la fantasia e la creatività non vengono strangolate dai ritmi di una vita frenetica ed il tempo scorre lentamente, dove la mente vola libera senza restrizioni, dove finalmente si è liberi di essere e ci si può rifugiare e prendere un respiro.

The attic of the lost time....is there, in the mind and dreams, where is possible to recover the hopes and the expectations, where what you want is what you can and everything becomes possible, where fantasy and creativity are not strangled from the rhythms of a phrenetic life and time flows slowly, where the mind flyes free with no restrictions, where finally one is free of being and can refuge in and take a breath.

The Pomegranate - PDF instructions available

The Pomegranate - PDF instructions available
CLICK ON IMAGE

martedì 12 maggio 2015

Not far..

The Elizabethan panel is not far to be finished, haven't worked on it recently because I was taken by the Castle making...here how it is coming out, love the colours !!


domenica 3 maggio 2015

Roof tiles and how the castle was made.

The most gentle adjective I can use to describe the making of the roof tiles   is : tedious !
I started on last Saturday and finished on Sunday late afternoon, those nineteen tiles have drived me nut; tiles are so small, about 5 - 6 mm each and that repetive work was really slow and boring. At a certain point I was going to give up. One of the main problem was that sometimes the plans one makes are not what expected....I took the shape of the roof laying on it a piece of tracing paper and I draw over it  the shape of the tiles but for some reason, when the tiles where done those where not enought to cover the whole space and  two rows where still needed! Gosh ! I could not understand why this happened but so was. I stopped for a while and decided I could only go ahead and finish it.
I'm I happy with the result ? not 100% but for  no reason in the world I will re do it. And I still have the other roof to make....
So if you are planning to have a castle with roof tiles, you have been awarded ! :)
Tiles where made in detached needlelace on a separate hoop with a size 33 paper covered wire for the shape using  corded buttonhole stitch. Then stitched in place.


Rae - Reconstructed Fabulousness - asked me to see a close up photo and to know more about how it was made, so here you go:
A-B-C-D : corded detached buttonhole using four strands of Pipers silk, couched in place then stuffed with wool batting.
F: wool batting first covered with CBH; a second layer made with a variation of CBH was applied over and the window hole is keeped in shape with a 0.30 metal wire included in the stitching. A little piece of  Mica was placed in between. Thread used was four strands of Pipers silk.
G: same as F but the second layer was done in up and down buttonhole, thread Devere Yarns silk  size 18.
H: a metal pin was used then covered with flat silk thread, then a little flag made in CBH over 0.30 wire was couched on top.
I: long and short stitch in Soie Ovale, no padding.
L: CBH worked in round, always supported by a 0.30 metal wire. Columns made in CBH surrounded by silk gimp.
M- E : CBH in four strands Pipers silk,  over two layers of wool felt. Brick pattern made with a ticker thread stitched over.
N: Brick stitch in Soie Ovale over 35ct linen fabric, then stitched in place over one layer of wool felt.
O: trellis stitch using the back side in Soie Perlè, stitched in place over wool batting, all surrounded by drizzle stitch made with Soie Perlè and 40/3 Seta Reale (an old Italian brand of silk).
P: CBH supported by 0.30 metal wire then stitched in place, same for all the other doors.

Hope this can be useful...any questions ? Feel free to ask !
XXXX


domenica 26 aprile 2015

Building a castle...still.

Four months are gone since my last post, everyday life doesn't let me have all the free time I would like to have for embroidery so I made a promise to myself that I would not post  untill the castle was finished, this to push me to do as much as possible but I realized that going ahead so slow, people will probably forget this Blog :)
So the castle is not finished, the left tower is not completed, the roof is waiting for tiles and some final touches are still to be made but here it goes ! And I can say I'm pretty happy with the result.
The ground under it maybe was the most difficult part, the colour arrangement of the drizzle stitch and keeping a sense of continuity in the whole thing is something that needs a good attention. It's easy to focus on the element one is working on and "forgetting" what's near or under it so the risk of loosing that sense of "going all together" is always around the corner specially if one doesn't stitch everyday or has long pauses in between.
I'm determinate to complete it soon so...watch this space ! and let me know your thinkings too !

It also has mica windows !

And the pear tree is growing too.


All the embroidery was made upsidedown, so here you can see my stitching view  ...not the best but I can't reach the
top from the correct side as the frame is too big...longer arms pleeaseee !


domenica 7 dicembre 2014

Back to first love.


I can say I have grown holding a pencil or a brush, since I was just a little child about fourty years ago; mother could "forget" me at my little desk drawing, colouring, cutting and pasting paper for hours and hours.
Then when I was about ten aged, I was used to help to reorder the kitchen and sometimes wash the dishes after lunch to get some very little money that I saved to buy coloured felt pen o coloured pencil sets...so I learned very early that one has to work and save if wants to have something, good lesson !
And at fourteen old, I got my first wooden easel, oil colour, brushes and canvas, it was a like a dream but that wasn't my way.
My real love was born any years later when my husband gifted me my first watercolour paintbox and since then this has been my favourite tecnique. 
Getting older, I have also studied many years the art of painting on porcelain but when I was finally good enough, Fibromyalgia stopped my run as pain was too much because that kind of painting  requires an incredible concentration and it is a real fatigue.
So I dedicated my attentions to embroidery "thinking" it was something relaxing and you all know eveything about the last years.
But embroidery is not relaxing for me, I love the planning, the start and the finish of a project but not what's in between ! I easily get anxious when something is not like I would or bored when a work takes ages to be completed and that's probably why have so much works on the way but just sporadic finishes.
Recently really felt the need to do something truly relaxing, something handy that doesn't require much materials to be made so what best that painting again using my old watercolours and just a brush and a glass of water ? but as always I'm not so easy, I love botanical subjects and reading Blogs here and there about Botanical painting I discovered an incredible and old material: CALFSKIN VELLUM ! yes, the one used in old manuscripts. So I ordered some samples from William Cowley in UK which is a very old manufacturer of parchment and vellum and here you can see my first adventure...there is a world behind this tecnique, YAY ! I have a new play ...and IT'S relaxing too !
So now you know where my crazy brain has been in the last five months...

Adapted from Mira Calligraphiae Monumenta Folio 52 -
10 x 10 cm

 still don't feel ready to paint live subjects but by now  it's ok too.

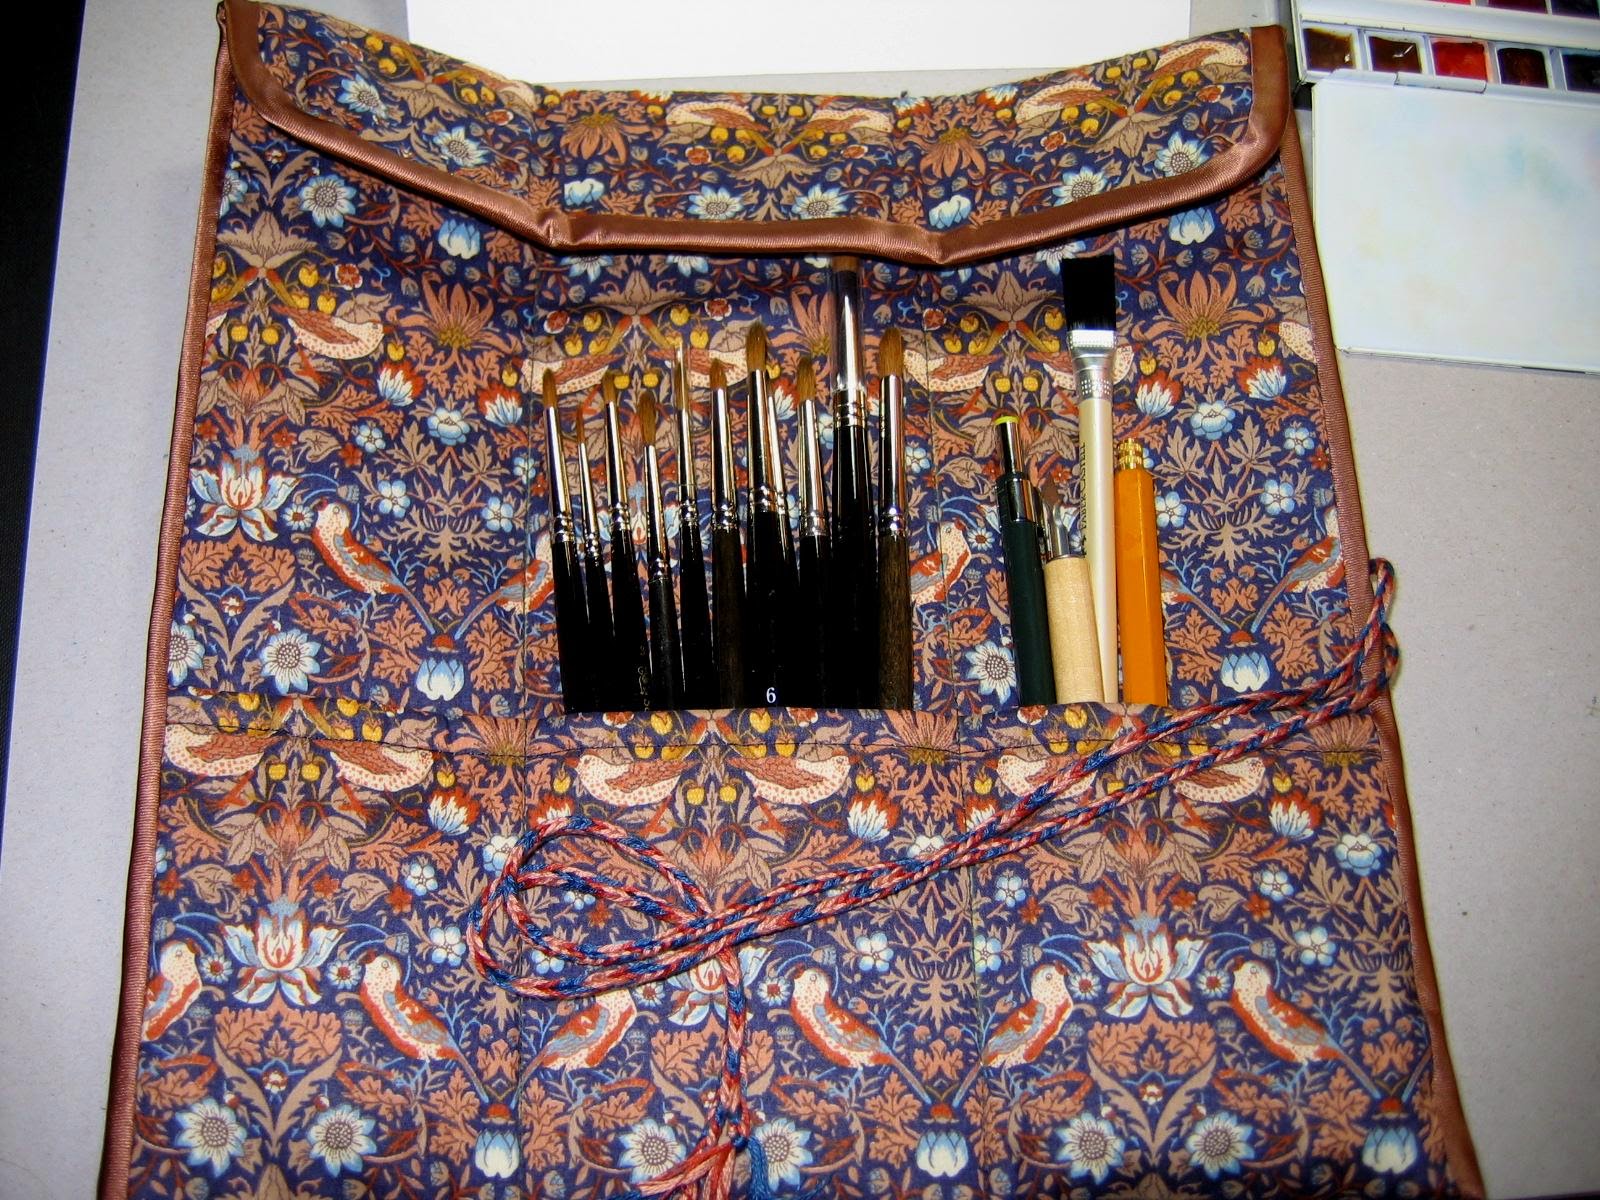
I could not resist to sew a  wallet for my brushes using William Morris fabric tied with a fingerloop 
braid !...this means that I won't stop being an embroiderer too :)


sabato 26 luglio 2014

Elizabethan inspirations.

Well, it was time. I have been studying Elizabethan embroidery for long and finally I had the feeling to do something real not only theory.
So decided to take a fragment from the panel owned by the Embroiderers'Guild UK and shown on Carey's book Elizabethan Stitches; my version has some motifs in different position respect to the original as I liked to add a personal touch.


Size is 15X15 cm and I still don't know what will be, maybe a little cushion surrounded by a gold period bobbin lace, or a sweetbag or a framed panel...who knows? 


It's made in Pipers silks, 4 strands for the detached buttonhole and AVAS Perlè for the trellis stitch; flower and fruits are in Gilt Silke Twist a bit padded to make them gently raised.
Gold scrolls are in plaited braid stitch (Carey's version)  using  n°4 gilt passing thread on silk core by Golden Threads.


Now back to stitch, I wish to have it all done soon !

domenica 22 giugno 2014

Watercolour paint box

 I've not been painting  with watercolours for years taken by the the porcelain art first and by embroidery after. But this was my "first love" and one can never forget it so...I decide to re organize all my supplies in a nice way so brush, colours and palette stays all together.
What better than a fabric covered cardboard box ?
Now I only need to find the time and a bit of inspiration.

Soon my new embroidery project  start in "Elizabethan style".....


sabato 10 maggio 2014

Bobbin Lace


Why bobbin lace ? Everything started because I'm in search of an appropriated metal trim/ribbon to use for covering the edges of the stumpwork mirror when it will be finished...well still there is a looot of time but I like to do things "in time" :)
I think that the original trim is made using a weaving loom tecnique but when I saw the edgings of the 17th C. English  coifs and jackets that are made in bobbin lace, I thought that maybe was possible to achieve something that could work for my purpose too.
One of the main stitches used in bobbin lace can give a nice trim that I will probably use once I have mastered a bit more the tecnique and found the correct size of metal thread.
Have to say that I'm not interested in bobbin lace in general, just on how to make 17th C edgings because I think it would be  nice to be able to make my own finishes,  just in case ...
Here is my first try for the braid, not perfect at all but I'm starting understanding the method.

Then I tried this motif, which is from  the Nottingham cap in the Middleton Collection. 
The thread used here is not a real metal one, I have used Anchor gold Ophir that was indicated in the book but to be historically correct, it should have been made in 9DRM gilt Tambour which is much more  similar to the old one ...still waiting for it in the mail. 
Starting. I needed to use mini hair clip to avoid the thread unravelling from the bobbins.
And the pillow is self made, velvet very stuffed with vegetal fibres !
Working...
Finished sample, again not perfect as bobbin lace really needs practice.
I have learned the basics stitches here:
and:

The books that have been fundamental are from Gillian Dye:
 
They have the patterns for all the laces shown inside and some instructions.
This is another very interesting one from Rosemary Shepherd but I still not have it:

The most common metal threads to make this laces are 9 DRM silver or gilt Tambour and No.3 silver or gilt smooth passing, all available from Neil at Benton and Johnson in UK.

And the adventure goes on....


domenica 13 aprile 2014

Building a castle.


Stich by stitch, the castle is growing. In the original mirror from Metropolitan Museum it was located on the right side corner but in my version,  I have moved it in the middle of the design under the sun and clouds,  because I didn't like too much the lady that was in that position in the model. So I just have to copy from the old one..."just"...well is not so easy specially for the colour matching. But I think is coming out nicely.
The original castle from Metropolitan
The wall is made in corded detached buttonhole worked separately then couched on the ground with a little stuffing. 
The green ground is made in brick stitch over a 35ct linen then cut and applied, again with only a thin layer of felt under.
The wall of the building is also made like the pink wall in corded detached buttonhole stitched in different shades of brown with a bit more of padding to add dimensionality.
As you can see I'm working together different parts to better understand the colour placement and for not loosing the the "sense" of the whole thing. So only the rabbit on its ground is really finished. 
There's still a lot to do....and the little dog on the right also has a ground to stand on ! It's made like in the original, a multicoloured Trellis stitch that I have learned on Sue Tortoise wonderful Blog:
thanks Sue for your lovely post !

In the daylight.
The whole looking.
Until next time !